

How To Stitch From A Chart
A step-by-step guide for needlepointing from a chart

Materials:
Zweigart mono or interlock 13 mesh canvas (or 18 if you decide to make a tiny version and 10 mesh if you'd like a big one!)
Threads of your choosing for details (fifty inches length per square inch of color or a full skein for 20 sq. inches of stitched surface for 13 mesh. Please follow your thread company’s guidelines)
A Pigma Micron pen with a fine tip and waterproof ink
A pair of scissors
Tapestry needle in accordance of your mesh size
Artist tape
Patience, a great playlist and a cuppa something good
Step-by-Step Guide for Charting Needlepoint
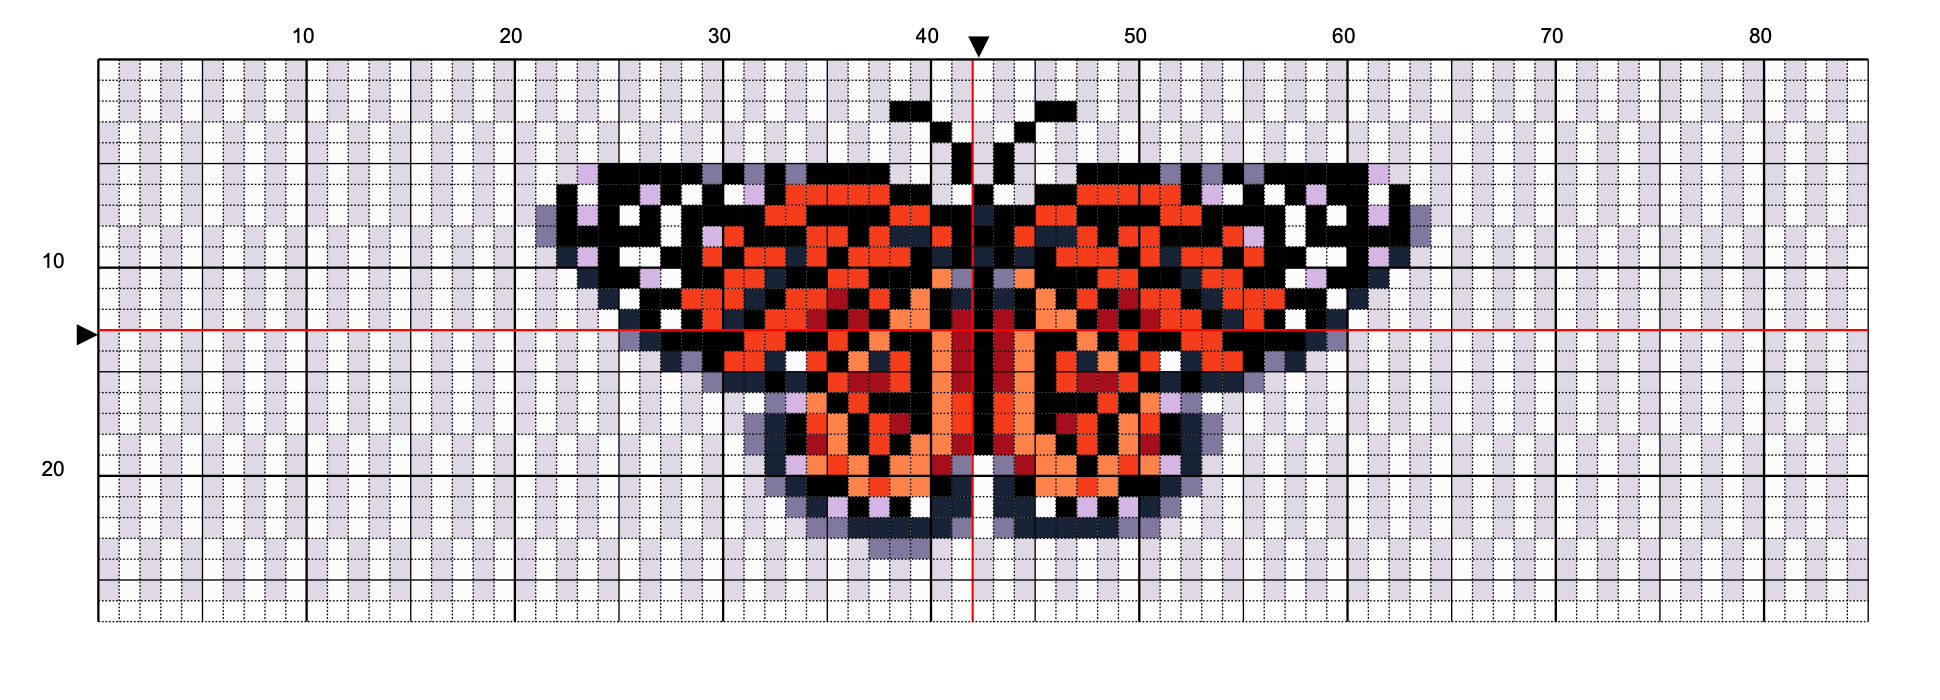
Have your chart at the ready for the desired design. I recommend having it printed so you can mark it up and make notes. The chart will have a grid with boxes representing each stitch and thicker lines at 5 and 10 stitch intervals to aid in counting.

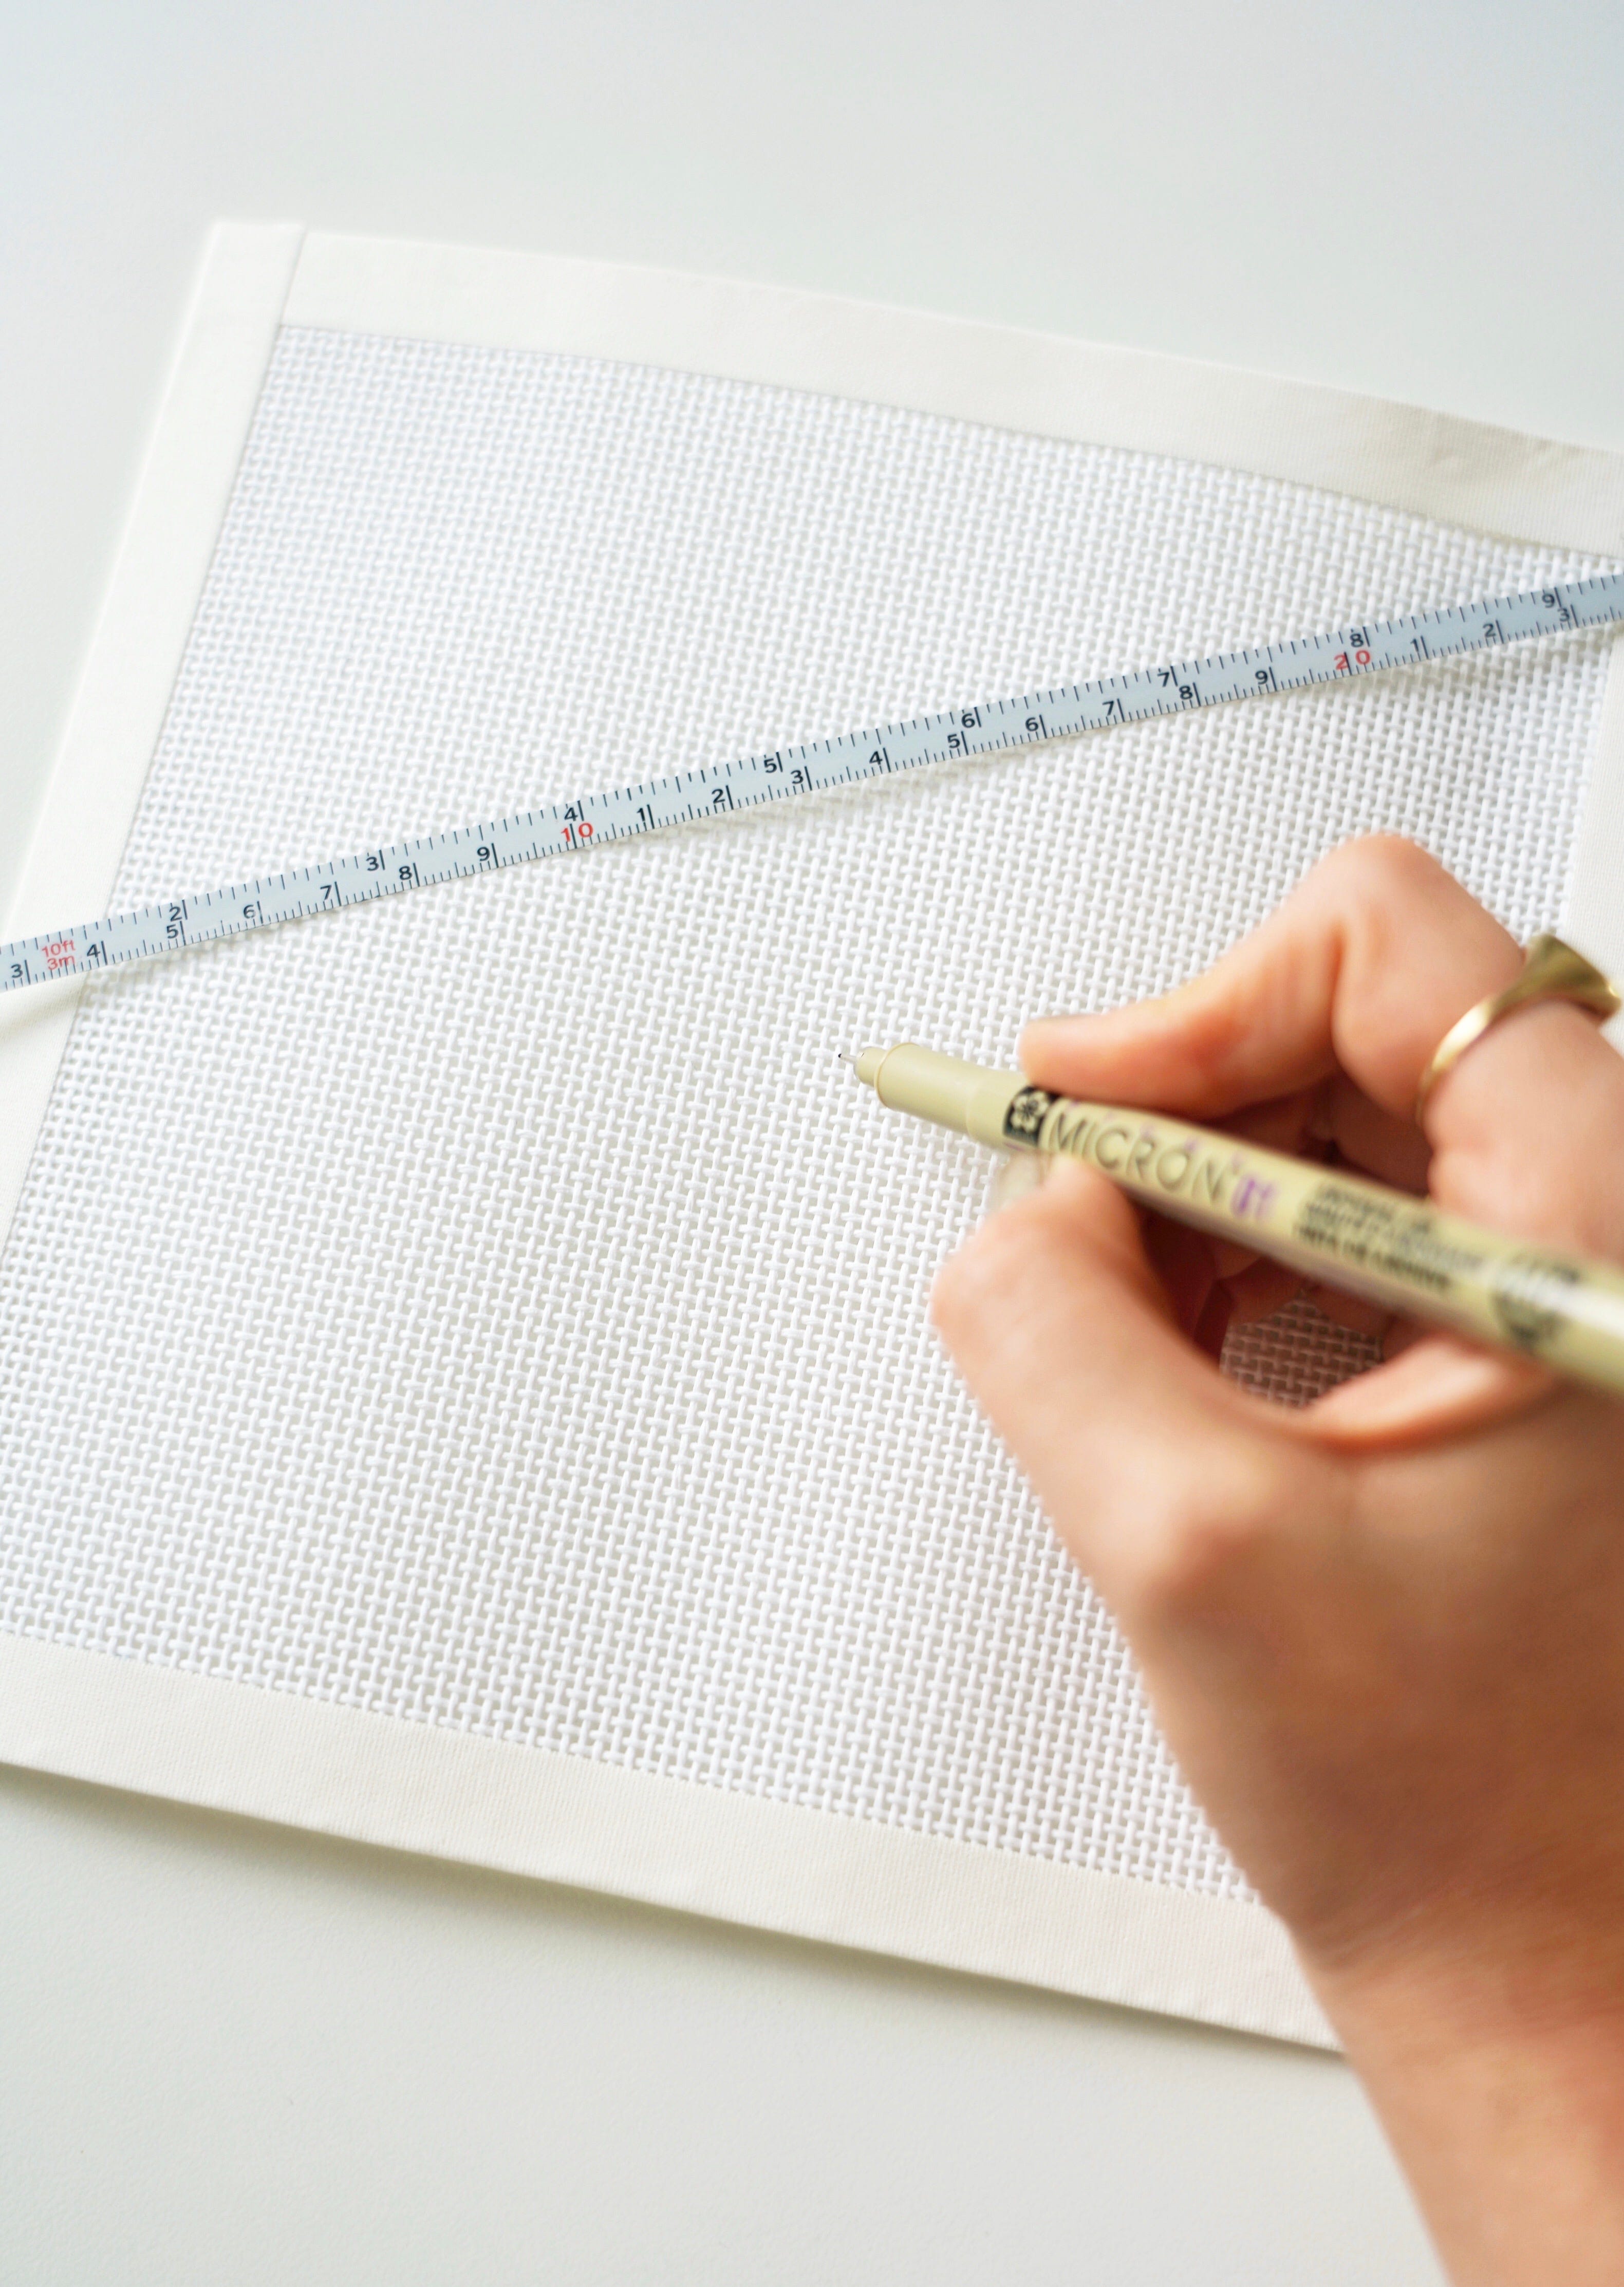
Determine the size of the canvas needed based on the stitch count and desired mesh size.
Example: If the design is 130 stitches wide, then:
For 18 mesh: 130/18 mesh ≈ 7.25". The canvas should be 11.25" wide.
For 13 mesh: 130/13 mesh ≈ 10". The canvas should be 14" wide.
For 10 mesh: 130/10 mesh ≈ 13". The canvas should be 17" wide.
When selecting the canvas size, leave a 2" border around the design whenever possible to allow for the addition of a background later.
Always leave at the very least a 3/4" unstitched slack canvas for finishing purposes, as it will make the finisher's job easier when sewing.
Tape your canvas with artist tape or gaffer tape.
Mark the chart up as needed. This step is helpful when sketching out the design before transferring it to the canvas.
Begin sketching the design on the canvas, starting from the top left corner and working your way outward. I highly recommend an archival ink micron pen in a light color. Do not use water-soluble marker, pencil, sharpie, or ballpoint pen.
The simplicity of most designs allow for light pen markings to be sufficient as a guide for stitching in your chosen colors.
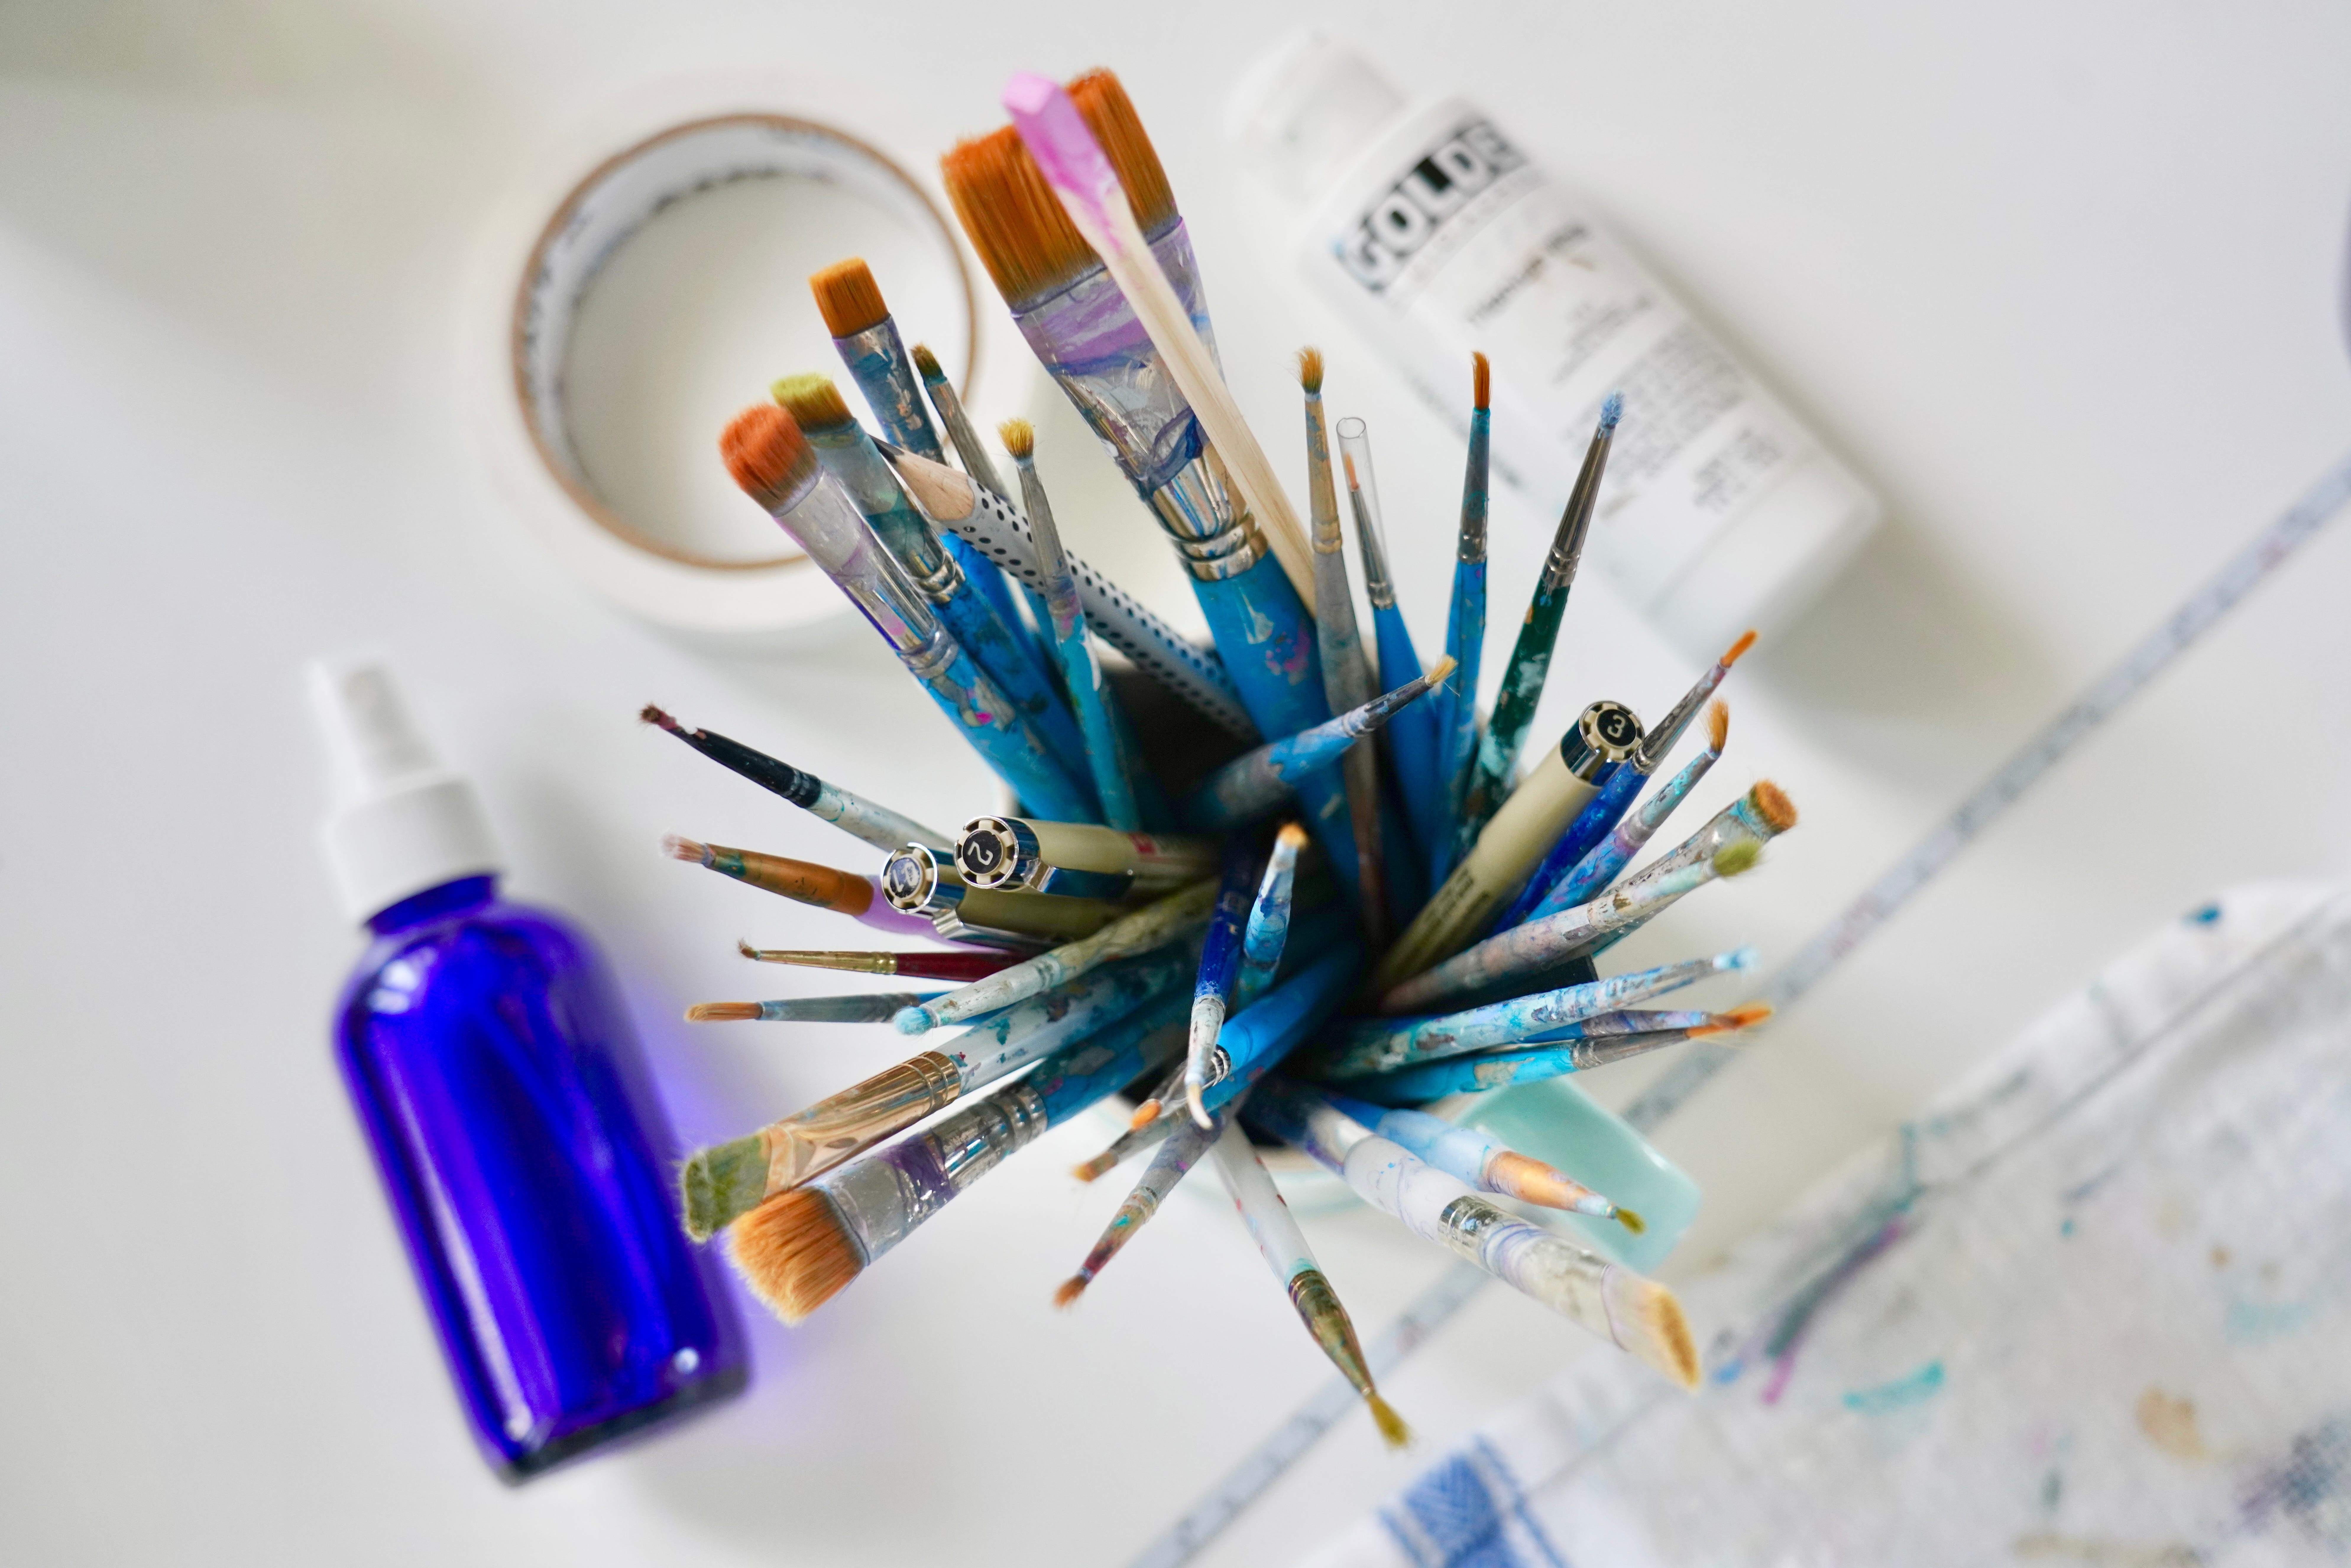
(Optional) If desired, paint the design onto the canvas using acrylic paints for better coverage. There are no magic shortcuts—patience is key. Recommended materials include:
Americana acrylic paints
Paper towels
Synthetic brushes of various sizes
Water
A rag or additional paper towels
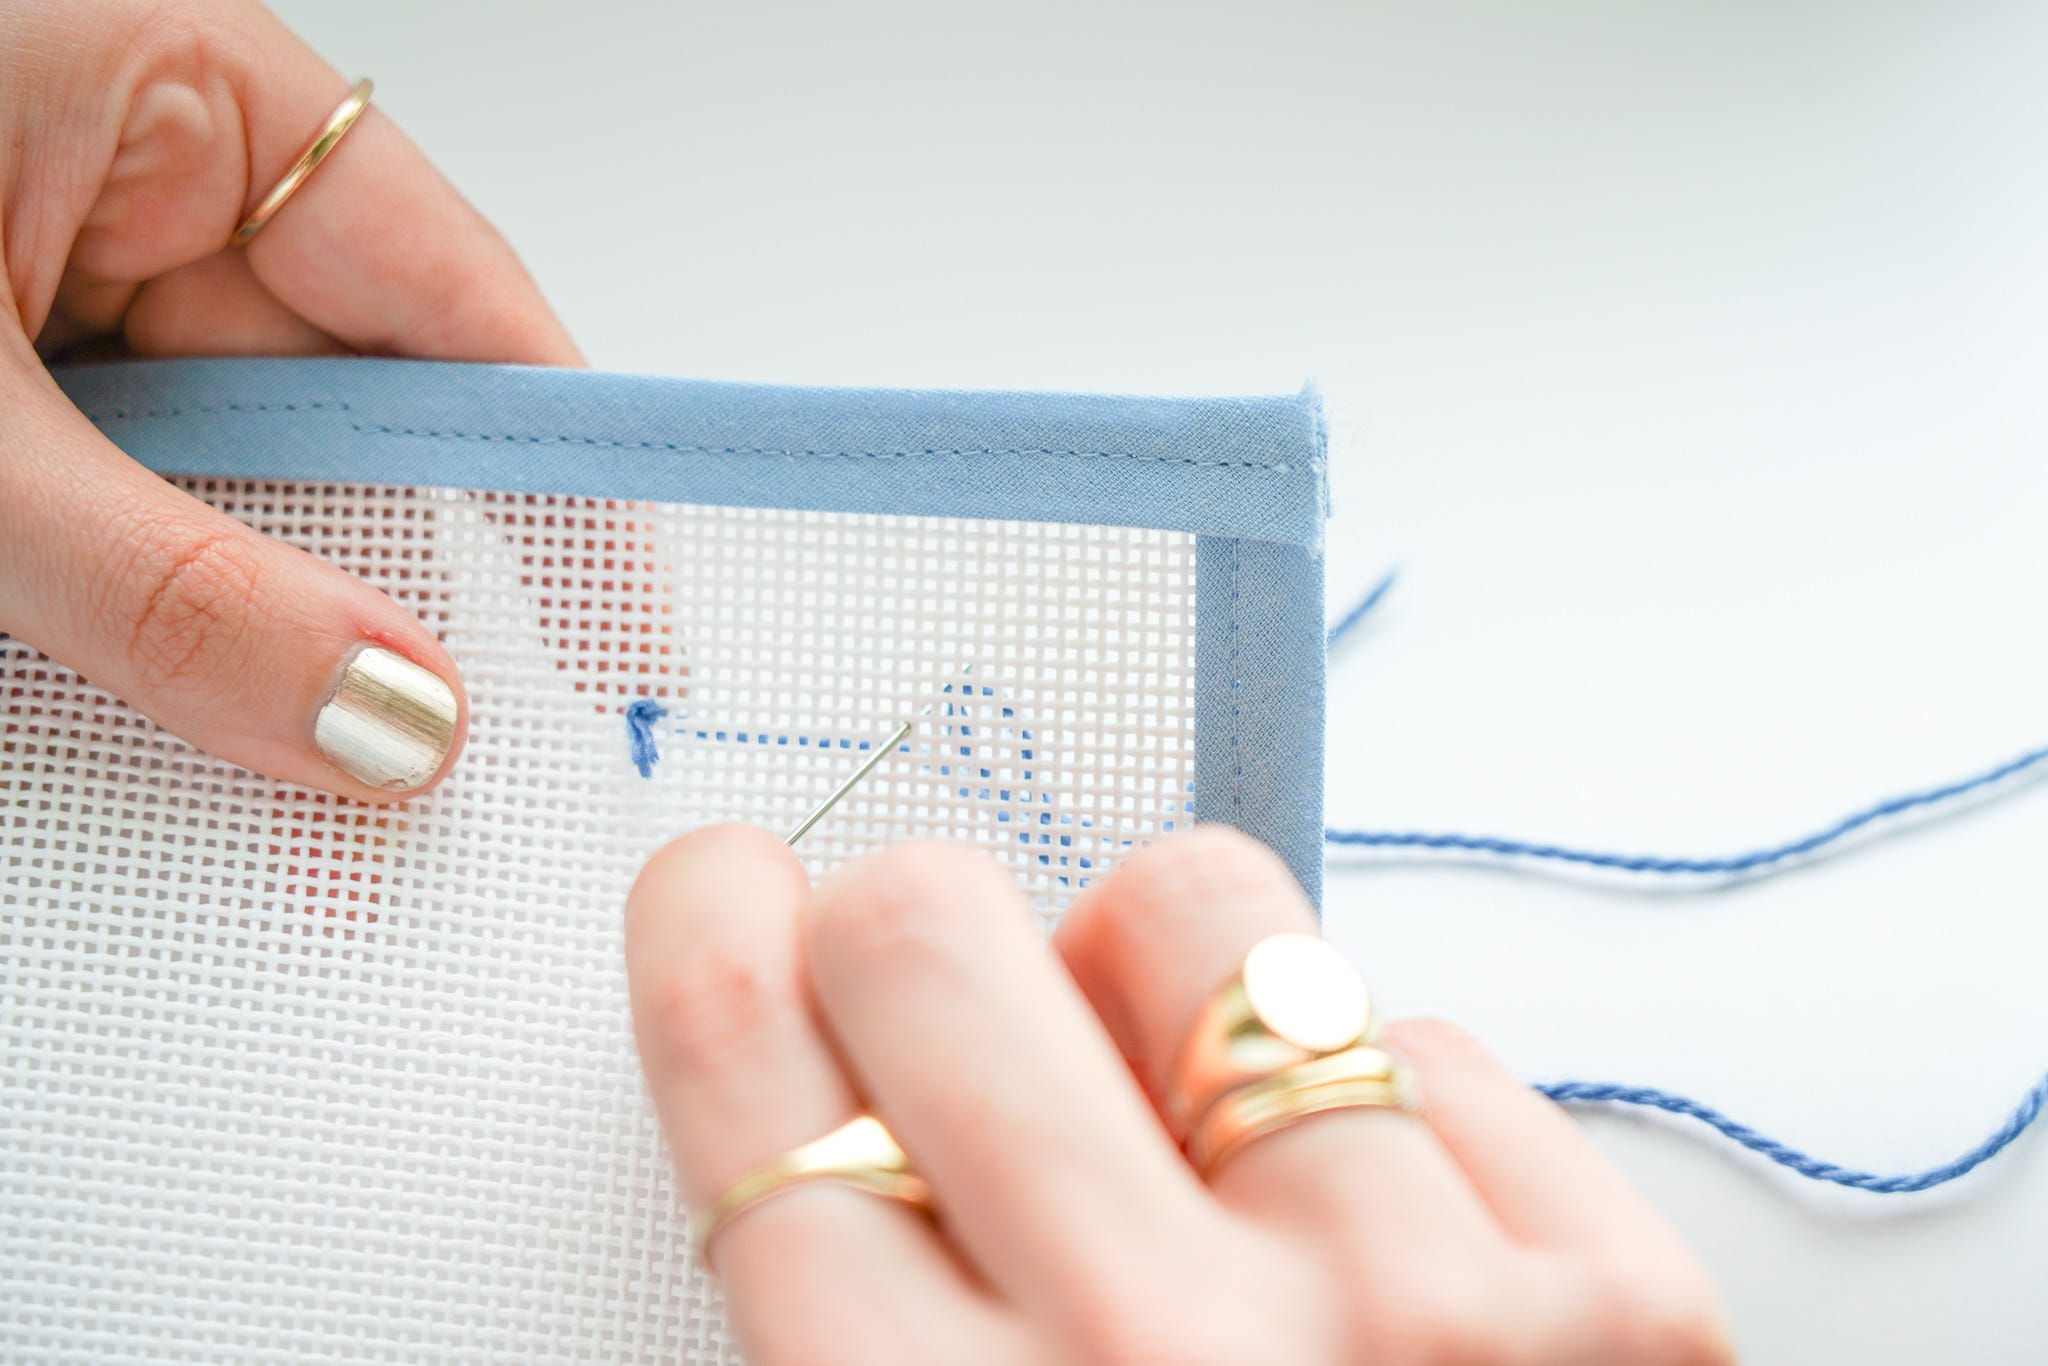
Once the design is sketched or painted onto the canvas, begin stitching according to the chart, using the appropriate colors and stitch types.

As you stitch, refer to the marked-up chart to ensure accurate placement of colors and patterns. Count twice stitch once.
Continue stitching until the entire design is complete, making sure to leave the designated 3/4" unstitched border for finishing.
Once the stitching is finished, your needlepoint piece is ready for the final finishing process, such as blocking, mounting, or creating a specific item like a pillow or handbag.
By following these steps and carefully referring to the counted chart, you should be able to successfully transfer your chosen design onto the needlepoint canvas and create a beautiful finished piece.

Each design featured on this site is either (1) the unique and original creation of Brooke Thorn McGowan and owned by Thorn Alexander LLC, or (2) is the unique and original creation of another artist that she has collaborated with. Visitors to this site are hereby given notice that the copyright, and all other intellectual property rights, for all designs featured on this site remain the sole and exclusive property of their creator. No reproduction of any kind may be made of any of the designs without specific written permission from the copyright owner.